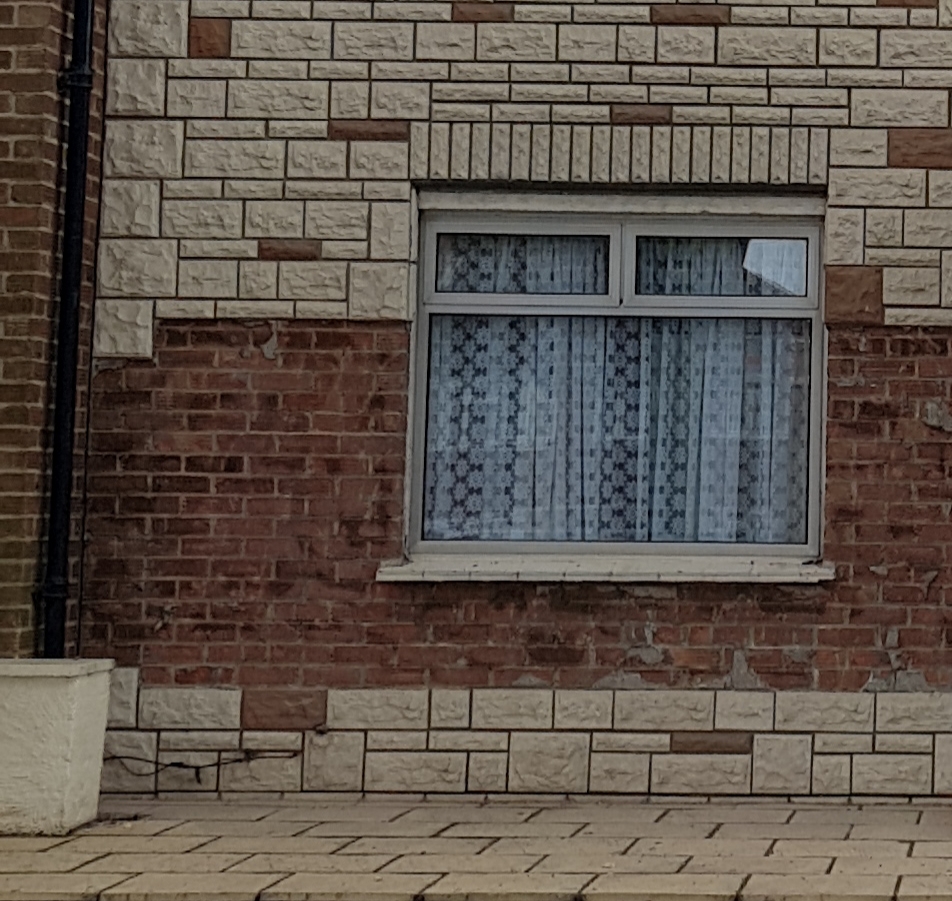
Home construction is one of the things that are long term. If you are thinking that you will not have anything to worry about after the construction, you are thinking ahead of time. Many repair works will come your way. These may originate because of harsh weather, natural disaster or simply because of corrosion. Construction cost estimators help with the budget estimation of that as well.
There are certain repair works that require the expertise of professionals. However, the nature of many tasks is not as complex as you may think. Some of them are simple and you can perform them or do them on your own. It will be like your very own DIY project. Surely, there are tasks that are beyond the understanding and you have to leave it to the experts. Nevertheless, the task as simple as that of replacing the brick in the wall is something that you can handle yourself. You can also add the repair cost to the overall budget.
You can ask the construction estimating company for assigning a buffer for such costs and expenses. This is an ideal case if you are expecting the work for the time short after the construction completion. However, the idea is practical and beneficial.
The advantage of working on it yourself is that you can save money that will go into the labor cost. All you have to do is to bear the expenses for the material. The rest of the work regarding the guidelines is something that you can find here in this article. Following are the steps for repairing that damaged brick in the wall that poses a threat for the wall and home safety.
Required material:
Table of Contents
The material that you are going to need for the task is as follows:
- Matching brick
- Cold chisel
- Mortar mix with pigments if required
- Power drill
- Trowel
- Protective gear like gloves, masks and eye protection
- Wire brush is optional
Step 1: Soak the brick in the water
Soak the brick or bricks that you are going to use in the water. Sometimes, the question of why arises. To answer that question, it is so that the brick will not absorb the moisture from the mixture. As a result, it will not dry immediately and without doing the task. This important step is at the base of every construction activity.
Step 2: Drill a series of hole in the mortar surrounding the damaged brick:
This step requires some power and technique. You have to be very careful when drilling those holes. They must be as close to each other as possible. The closeness of the holes gives the idea of how much effort is it going to take that brick out. If you do not own a power drill, you can rent it. If you have more than brick to replace, it is better to consult construction cost estimators for a mapping of expenses.
You can also use a diamond blade for the task. In addition to this, an important tip that you must keep in mind is to drip water on the mortar as you are drilling. This saves the struggle of breathing through the mortar dust because of grinding.
Step 3: Use chisel to jiggle and remove the brick:
After drilling holes, most of the mortar will fall out. This will make it easy for you to remove the brick. You can do this task either by hand or by a chisel. Make sure that you do not damage the surrounding bricks in the process.
Once you have removed the brick, either you can throw it away or you can reuse it. In case of reuse, put the brick in the bucket of the water.
Use the chisel to scrap the remaining mortar from the sides. Remove all the debris for a clear finishing for the next job.
Step 4: Prepare the mixture of mortar through the instruction on the mortar bag:
The next step would be to prepare the mortar mixture. If you are worried about messing it up, relax. It is no rocket science. The instructions are always there on the pack that it comes in. Once you prepare the mixture, test it out either on the cardboard or on the actual surface. Add color pigments to it to make it match the existing mortar color.
Step 5: Place, align and press the new brick firmly back in the place:
Now all you have to do is to take the new brick or the replacement brick and put mortar on the side. Spray the water on the surrounding bricks so that mortar moisture will remain intact. Spread a thick layer on the bottom of the hole. Put the brick with mortar on it in the hole. Align the brick with the other bricks and press firmly. Remove any excessive mortar with the chisel and make it as smooth as you can. You can use the trowel to do the job. Make the ends smooth through the trowel handle. That is it. Now all you have to do is to let it dry slowly. Spray the water on to the mortar for 3 or 4 days and let it dry.
You can master the art of brick replacing through these simple steps. The extent of the work can vary from the home wall to replacing multiple bricks. The scope is wide and requires attention. If that is the case, you must have clear budget estimations. Take services of a professional construction-estimating firm for doing the job. It is better to be careful in this regard. Follow these simple steps to avoid and hassle and unnecessary expenses.
